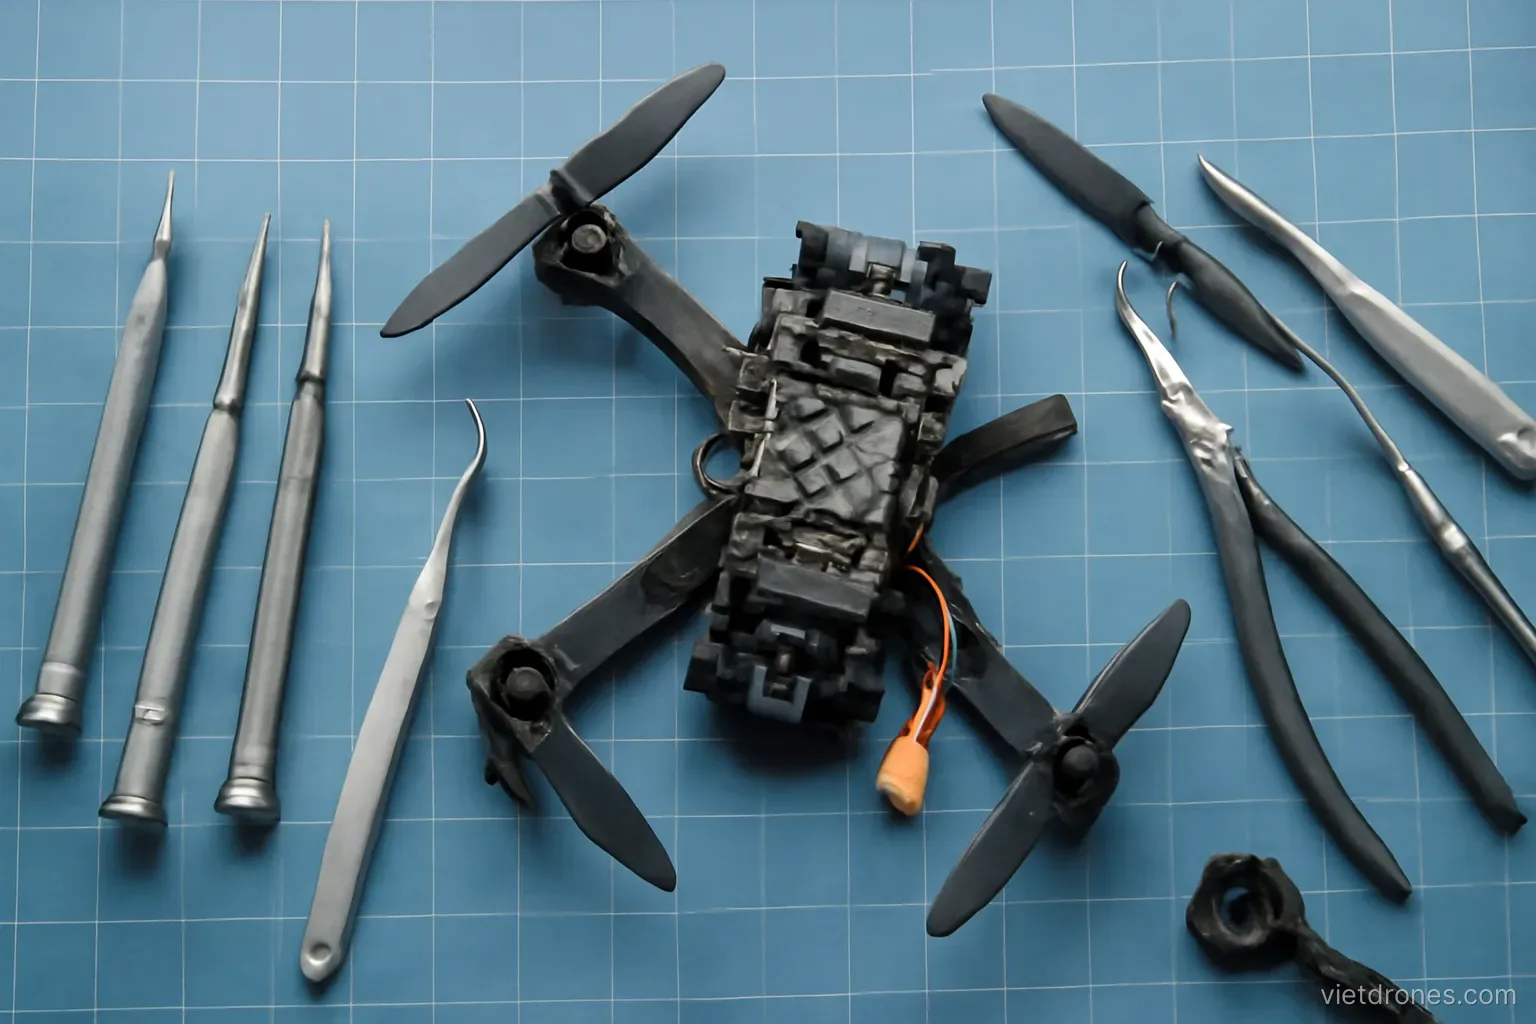
Some drone repairs are genuinely straightforward. Others look straightforward and are the reason repair shops see so many drones with stripped screws and disconnected ribbon cables.
Repairs that are reasonable at home
Propeller replacement. Designed to be user-serviceable and requires no tools on most models.
Gimbal guard and prop holders. Purely external parts.
Landing gear and feet. Simple external components on many models.
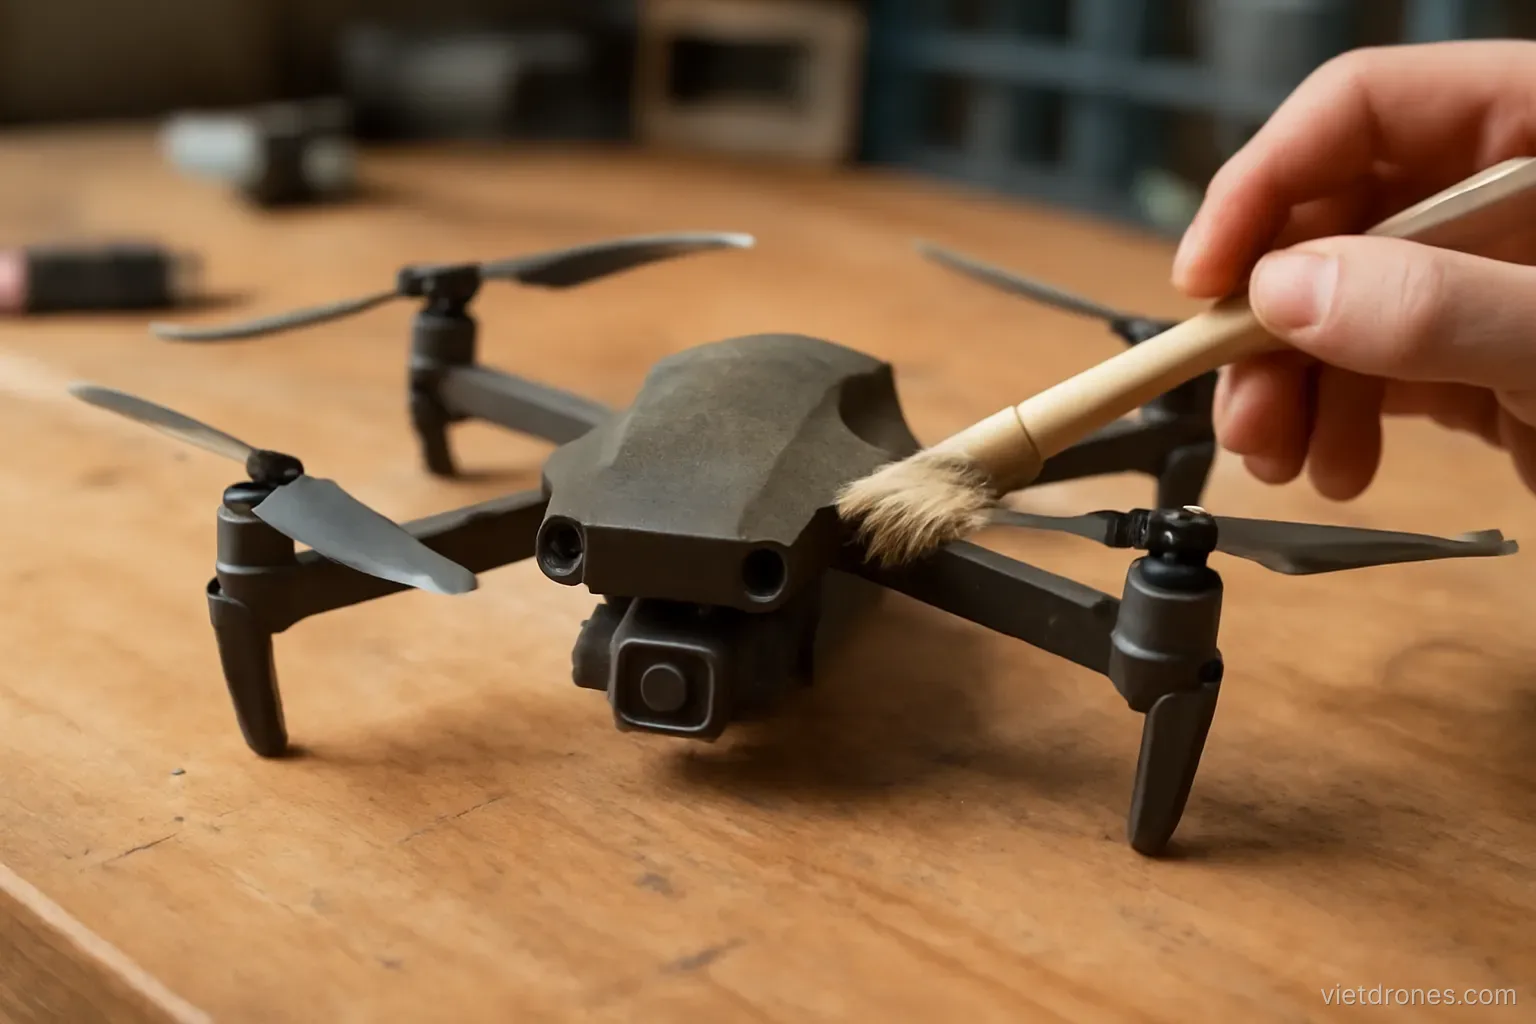
Cleaning sensors and lenses. With appropriate cloths and no liquids beyond lens fluid.
Controller stick replacement. Usually a simple unscrew and replace.
Cable replacement. External cables between controller and phone.
Battery contact cleaning. Carefully, with the battery removed and a dry cloth.
Firmware recovery. Following the manufacturer's documented procedure.
Replacing gimbal dampers. On models where they are externally accessible, this is a genuinely simple fix that restores footage quality.
Shell panels on some models. Where the manufacturer sells the part and documents the process.
Repairs that need professional service
Anything involving the gimbal. Alignment requires calibration equipment and the parts are extremely delicate.
Motor replacement. Soldering and precise alignment, and a poorly fitted motor causes a crash.
Camera modules. Ribbon cables and connectors that damage very easily.
Mainboard work. Beyond reasonable home capability on modern aircraft.
Anything after water exposure. Requires cleaning and inspection you cannot perform.
Battery internals. Never, under any circumstances.
Antenna and transmission components. Affects both range and regulatory compliance.
Structural arm damage on folding models. Hinges carry considerable load.
Anything you cannot test safely. If verifying the repair means flying over something you cannot afford to lose, the repair belongs with a service centre.
Anything under warranty. Opening the aircraft ends the warranty immediately.
Working safely and carefully
Remove the battery first. Always, before any work whatsoever.
Use the correct screwdriver. Wrong sizes strip tiny screws instantly, and a stripped screw ends the repair.
Work on a clean flat surface. With good lighting and no risk of parts rolling away.
Photograph as you go. Every stage, before disconnecting anything.
Keep screws organised. They differ in length, and reassembly with the wrong screw damages threads.
Never force anything. Resistance means a clip or screw has been missed.
Handle ribbon cables gently. They are the most commonly destroyed component in home repairs.
Keep the workspace clear of the battery. A battery sitting on the same mat is an unnecessary risk while metal tools are in use nearby.
Watch for static. Electronics are sensitive, particularly in dry conditions.
Test before full reassembly. Powering up with the shell loosely fitted confirms the repair worked before every screw goes back in.
Allow more time than expected. Rushed reassembly is where damage happens.
Parts and sourcing
Official parts where available. Fit and specification are guaranteed.
Beware counterfeits. Common for batteries and propellers, and dangerous in both cases.
Check the model variant carefully. Parts that look identical often are not.
Compare parts cost against repair quotes. Sometimes professional repair costs little more.
Consider a donor aircraft. For older models where parts are scarce.
Keep old parts. A working component from a scrapped drone is worth having.
Read the return policy. Before buying parts for a diagnosis you are not certain of.
Buy from established sellers. Cheap listings for delicate components rarely end well.
Check the seller handles returns of electronics. A part that arrives faulty is common enough that the return path matters as much as the price.
Order everything before starting. A partly disassembled drone waiting for a part is a drone gathering dust.
Deciding whether to attempt it
Ask what happens if it goes wrong. If failure means scrapping the aircraft, get a quote first.
Check for a documented procedure. If nobody has published a guide, that is informative.
Watch a repair video first. All the way through, before touching anything.
Consider your tools honestly. A precision screwdriver set is not optional.
Consider the value. An expensive aircraft justifies professional service more readily.
Consider the safety impact. Anything affecting flight reliability deserves professional attention.
Consider warranty status. Never open an aircraft still under warranty.
Get a quote regardless. It costs nothing and it frames the decision properly.
Ask whether you will trust it afterwards. A repair you are uncertain about produces an aircraft you fly cautiously forever, which has its own cost.
Know when to stop mid-repair. Stopping and seeking help is far cheaper than continuing badly.
Frequently asked questions
Which drone repairs are safe to do at home?
Propellers, external parts such as guards and landing feet, controller sticks, cables, and cleaning — anything the manufacturer treats as user-serviceable.
Why should gimbal repairs be left to professionals?
Because alignment requires calibration equipment you do not have, and the ribbon cables and mechanism are extremely easy to damage further.
What is the most common home-repair mistake?
Using the wrong screwdriver and stripping a screw, or tearing a ribbon cable. Both turn a repairable drone into a much larger problem.
Should I open a drone that is still under warranty?
No. Opening the aircraft ends the warranty immediately, and official repair pricing is often more reasonable than people expect.
More in Safe and legal flying and Batteries and accessories.