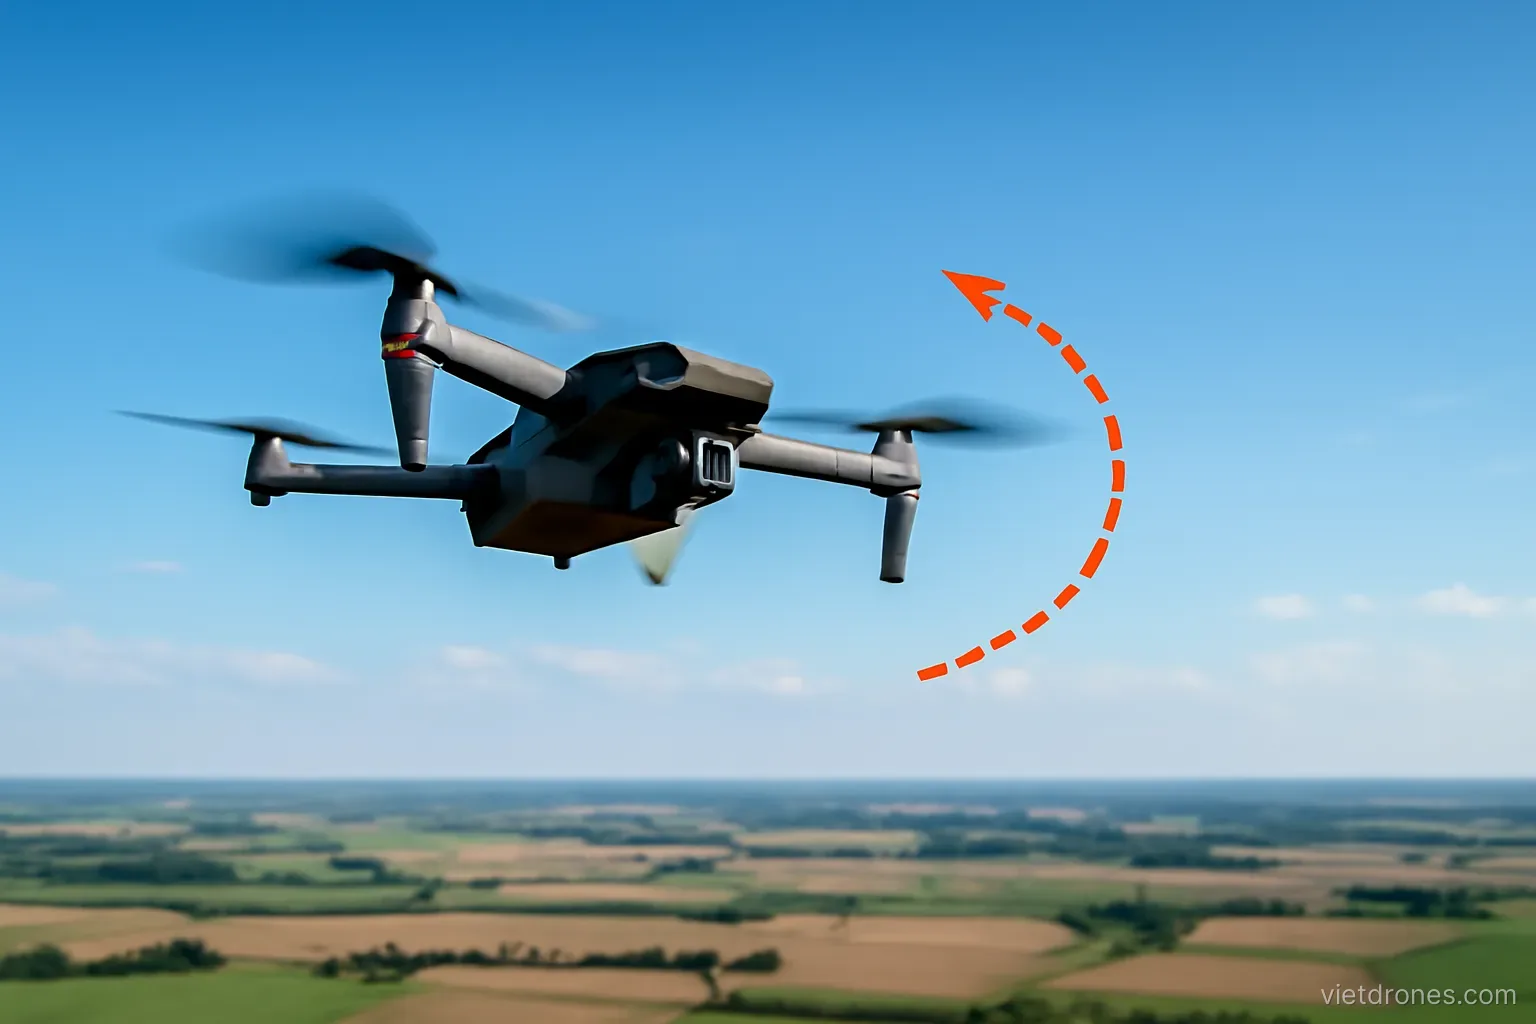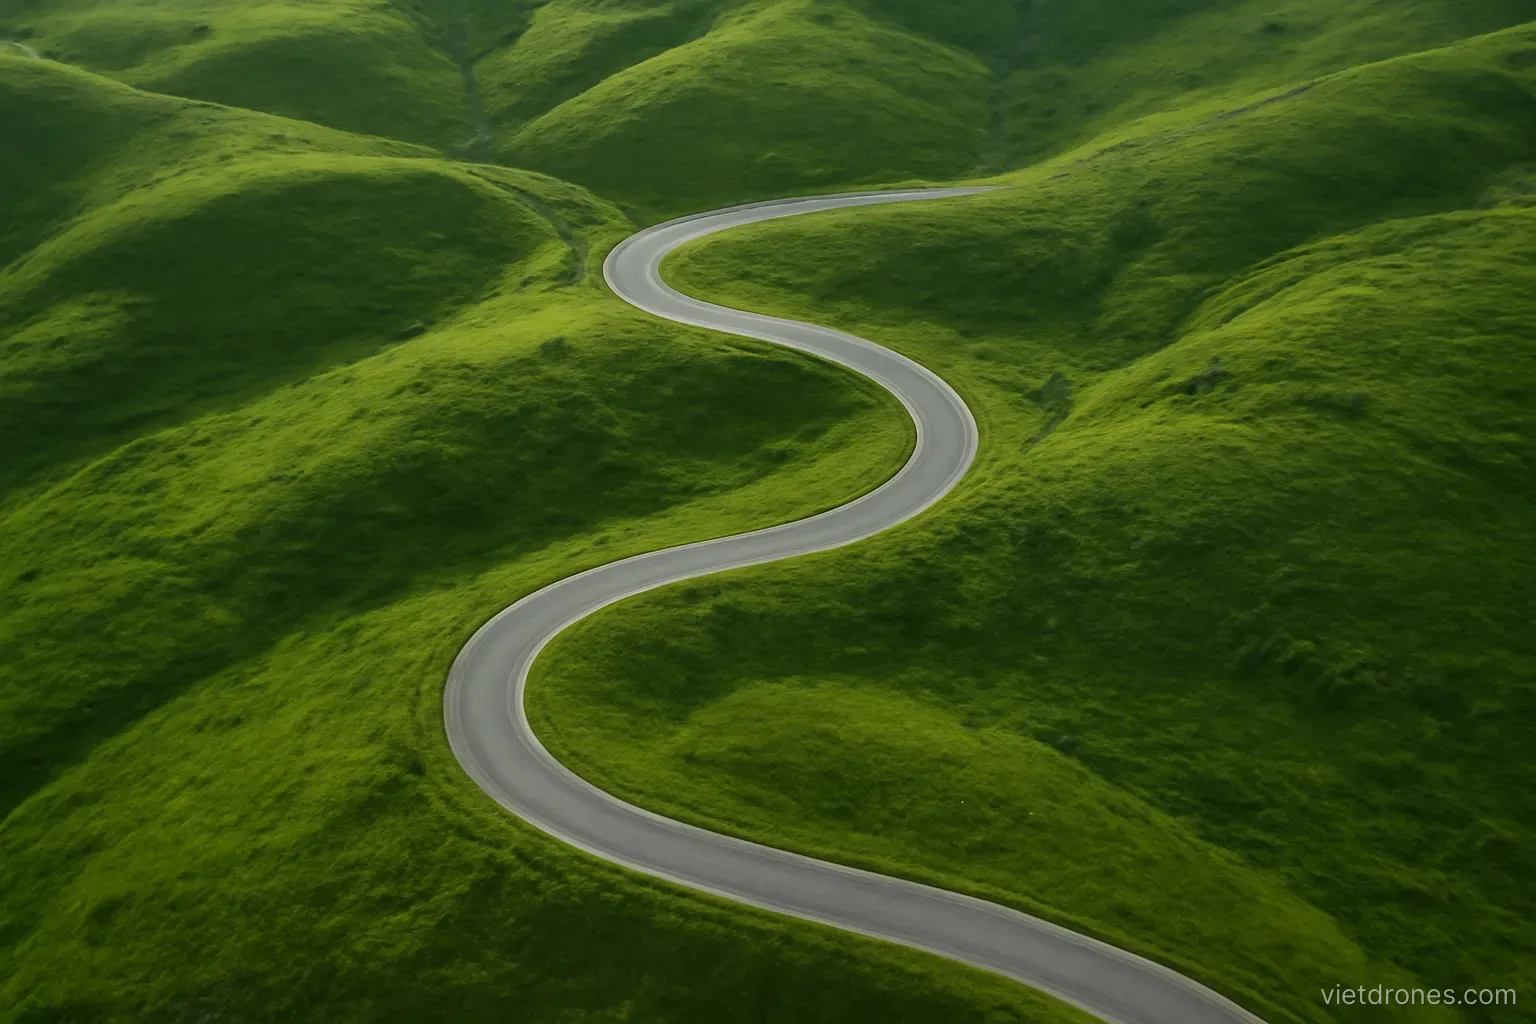
Watch any well-cut aerial sequence and you will find the same handful of moves repeating. The vocabulary is small; what separates good footage from bad is how cleanly each move is flown.
The reveal
What it does. Something hidden comes into view as the drone rises or moves forward, giving the viewer a small moment of discovery.
Start with the subject blocked. A ridge, a treeline, a building edge — anything that conceals what is behind it.
Rise slowly and steadily. The speed of the climb sets the pace of the reveal, and slow almost always reads better.
Tilt the camera down as you climb. This keeps the horizon in a sensible place instead of sliding off the top of the frame.
Hold before and after. A second of stillness at each end gives the editor somewhere to cut.
Keep the foreground close. Proximity to the blocking element makes the reveal feel larger than it is.
Fly it twice. Once at your intended speed, once slower, because slower usually wins in the edit.
Watch the light. A reveal into direct sun is dramatic but often unusable due to flare and exposure shifts.
Avoid rising from ground level. The first few metres contain the least interesting part of the move.
Where it fails. If there is nothing worth revealing, the move is just a climb, and the viewer notices.
The orbit
What it does. Circling a subject shows it from all sides and communicates scale and three-dimensionality better than any static shot.
Choose a clear subject. A lighthouse, a boat, a lone tree. Orbiting nothing in particular looks aimless.
Keep the radius constant. The most common fault is drifting closer or further, which makes the subject swell and shrink.
Coordinate stick inputs. Roll pushes you sideways while yaw keeps the nose pointed inward, and both must be smooth.
Use automated orbit modes to learn. They demonstrate the correct relationship between speed and radius better than description does.
Then learn it manually. Automated modes fail near obstacles and cannot adapt mid-shot.
Half an orbit is often enough. Full circles are rarely used complete in an edit.
Mind the sun. A full orbit passes through backlight, and exposure will shift noticeably.
Keep it slow. Fast orbits look frantic and expose every small correction.
Where it fails. Around a subject with an uninteresting rear side, half the shot is wasted.
The fly-through
What it does. Passing through a gap — an archway, trees, a doorway — creates a sense of movement and depth no other move matches.
Walk it first. Look at the gap from the ground and judge the real clearance rather than the clearance on screen.
Approach straight. Angled approaches shrink the effective gap dramatically.
Commit to the speed. Slowing mid-gap is where most contacts happen, because attention shifts to the wrong thing.
Turn off obstacle avoidance if needed. It will stop you in the gap, which is worse than not having it.
Only with a smaller drone. This is not a move for a large aircraft in tight spaces.
Have a clear exit. Know what is on the far side before you commit.
Keep something in the foreground. Edges passing close to the lens are what sell the sense of speed.
Accept losing shots. Many attempts will be near misses that are unusable.
Where it fails. A gap that is not visually interesting adds risk for nothing.
The tracking shot
What it does. Following a moving subject keeps it central while the world flows past, which is inherently engaging.
Match the speed. The whole effect depends on the subject staying roughly stationary in frame.
Follow from behind, beside or ahead. Each reads completely differently, and all three are worth shooting.
Beside is hardest. It requires matching speed exactly while maintaining lateral distance.
Look ahead, not at the subject. Obstacles arrive from the direction of travel, not from where you are looking.
Give yourself altitude. Following low is dramatic and leaves no margin for error.
Automated tracking is a starting point. It loses subjects in clutter and does not understand terrain.
Brief the subject. A person who knows the plan moves predictably and the shot works first time.
Longer than you think. Tracking shots are often trimmed heavily, so shoot generously.
Where it fails. Against a plain background there is no sense of motion, and the shot looks static.
The top-down
What it does. Pointing the camera straight down flattens the world into pattern and abstraction, which is why it reads as distinctly aerial.
Find pattern. Fields, roads, boats, markets, crowds. Without repetition or geometry the shot is empty.
Get the camera fully vertical. A few degrees off vertical looks like a mistake rather than a choice.
Move slowly and straight. Sideways or forward drift at constant height is the classic top-down move.
Or rotate on the spot. A slow yaw from directly overhead is simple and effective.
Watch shadows. Long shadows add depth; midday flattens everything into mush.
Watch your own shadow. Low sun puts the drone's shadow in frame more often than you would expect.
Height changes the subject. The same field is texture at one altitude and geometry at another.
Keep it short. Top-down shots hold attention briefly and then become monotonous.
Where it fails. Over featureless terrain, there is nothing for the eye to hold onto.
Frequently asked questions
Which move should a beginner learn first?
The reveal. It is forgiving of small errors, needs only a climb and a tilt, and produces a usable result more reliably than any other move.
What is the most common fault when flying an orbit?
Drifting closer to or further from the subject, which makes it swell and shrink in frame. Keeping the radius constant matters more than speed.
Should obstacle avoidance stay on during a fly-through?
Usually not, because it will stop the drone inside the gap. That means the move demands full attention and a rehearsed, straight approach.
Why do top-down shots need pattern?
Because looking straight down removes depth cues, so the shot depends entirely on repetition, geometry or shadow to give the eye something to hold.
More in Drone filming services and Care and repair.