Colour problems are the most common reason footage looks amateur, and almost all of them come from two decisions made in seconds before take-off.
Why automatic white balance fails
It changes during a shot. As the drone moves over water, forest and buildings, the camera reinterprets the colour of the light.
The shift is visible. A slow colour drift across a clip is distracting and difficult to fully correct.
Clips will not match. Two shots of the same scene end up with different colour, which shows immediately when cut together.
Water and foliage confuse it most. Large areas of a single colour push the automatic estimate off.
It neutralises golden light. Removing exactly the warmth you flew at dawn to capture.
Correction costs quality. Fixing colour in editing on eight-bit footage introduces banding.
Manual is a single decision. Set it before take-off and it stays put.
Approximate is fine. Being slightly off but consistent is far better than being right but drifting.
Change it only when light changes substantially. Sunrise to full daylight, or moving from sun into heavy shade.
Setting white balance manually
Sunny daylight is around 5500 Kelvin. A reliable starting point for most midday flying.
Overcast is around 6500 Kelvin. Higher values warm the cool light of cloud.
Shade is higher still. Around 7000 Kelvin, since shade is lit by blue sky.
Golden hour is around 4500 to 5000. Lower values keep the light warm rather than correcting it away.
Artificial light varies widely. City lighting at night can require values well below 4000.
Judge on screen, then verify. Look at something you know the colour of, such as concrete or a white building.
Err warm for landscapes. Slightly warm reads as pleasant; slightly cool reads as broken.
Keep it fixed across a sequence. Every shot intended to cut together should share a value.
Note the value used. It makes matching a follow-up flight straightforward.
Picture profiles
Standard profiles apply contrast and saturation in camera. Footage looks finished immediately and needs little work.
Flat profiles preserve range. They record more highlight and shadow information at the cost of looking washed out.
Flat requires grading. Ungraded flat footage looks worse than standard footage, not better.
Ten-bit makes flat worthwhile. Eight-bit flat footage bands badly when contrast is added.
Standard suits quick turnaround. Social clips and anything you will not colour-correct.
Flat suits considered work. Client projects, travel films, anything worth an hour of grading.
Reduce in-camera sharpening. It cannot be undone and produces harsh edges.
Reduce in-camera saturation slightly. Easier to add than to remove.
Be consistent. Mixing profiles within a project creates avoidable matching work.
Keeping colour consistent
Same settings across the session. White balance, profile and exposure approach should not change mid-shoot.
Shoot a reference at the start. A few seconds of a known scene gives a matching point later.
Watch for light changes. Cloud cover changes both brightness and colour temperature.
Note when you change anything. A quick record saves confusion during editing.
Match at the start of editing. Balance all clips before applying any creative grade.
Correct then grade. Two separate steps, in that order.
Use scopes, not eyes. Perception adapts quickly and misleads after a few minutes.
Check on more than one screen. Phone, laptop and television all render colour differently.
Aim for plausible. Aerial footage of real places looks best when the colour remains believable.
Grading aerial footage
Start with exposure and contrast. Before touching colour at all.
Skies need care. Large smooth gradients show banding readily, especially in eight-bit footage.
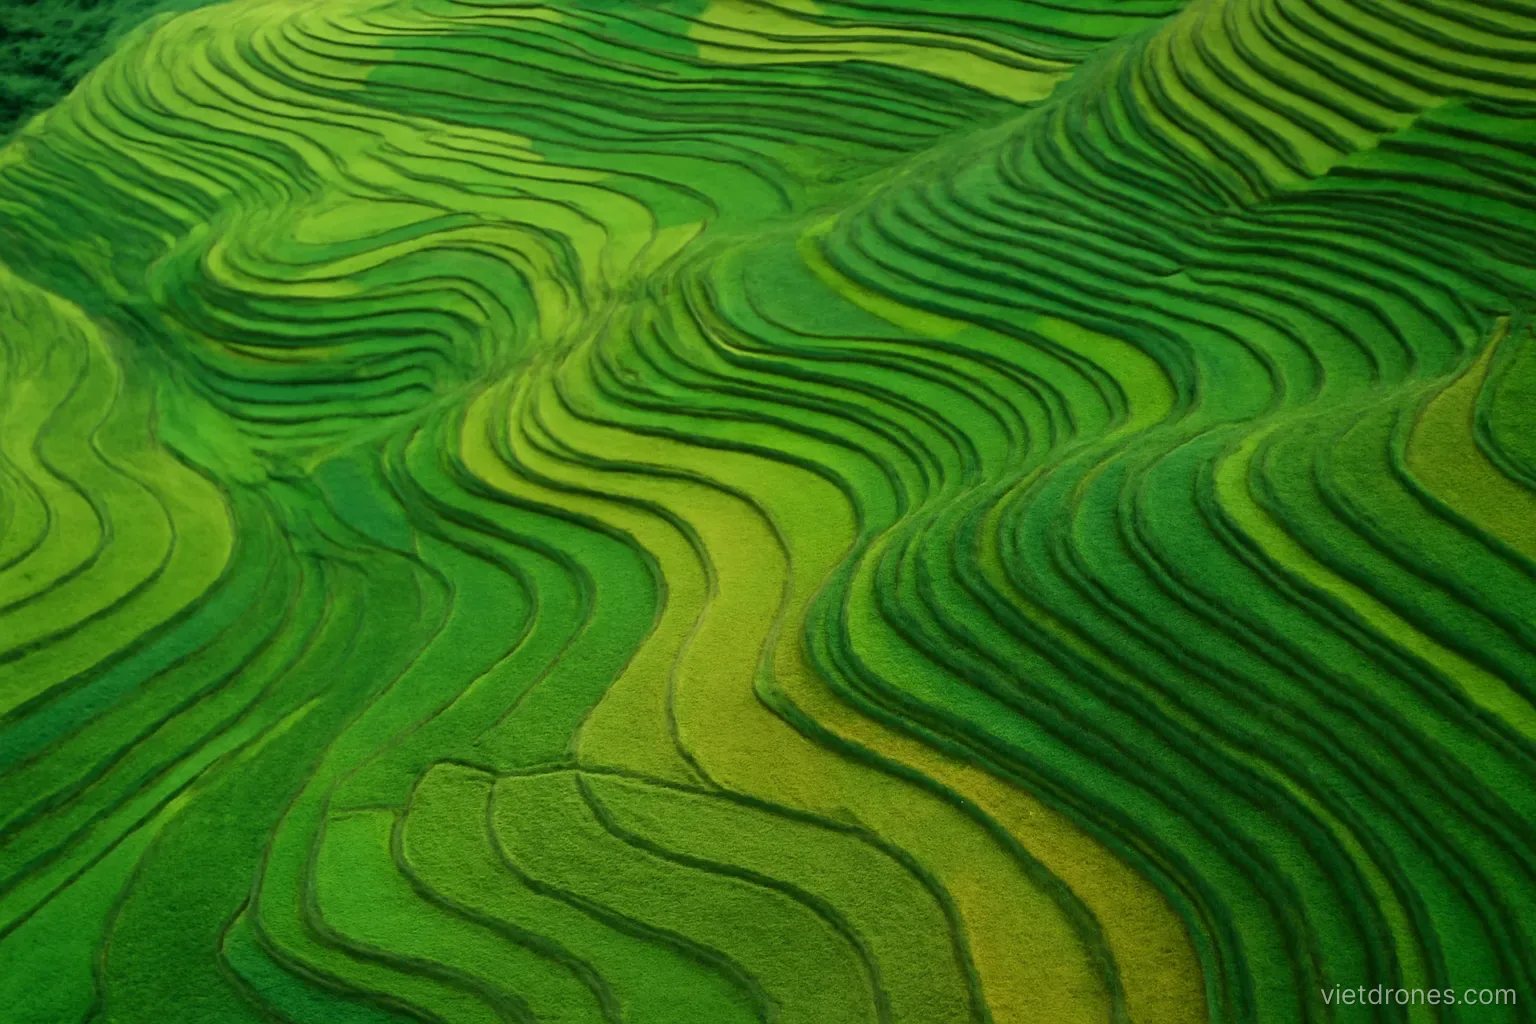
Do not oversaturate greens. Vegetation turns artificial very quickly.
Water responds to small adjustments. Slight shifts change the perceived time of day.
Reduce haze carefully. Dehaze tools add noise and harshness when pushed.
Apply a consistent look. The sequence should feel like one place at one time.
Use LUTs as a starting point. Then adjust, since no preset fits footage it was not made for.
Grade at delivery brightness. A grade made on a very bright screen looks dark elsewhere.
Stop early. Overgraded aerial footage is more common than undergraded, and it dates quickly.
Frequently asked questions
Why set white balance manually?
Because automatic white balance drifts during a shot as the drone passes over water, forest and buildings, and clips then fail to match when cut together.
What white balance value suits daylight?
Around 5500 Kelvin for sunny daylight, 6500 for overcast, and 4500 to 5000 at golden hour to keep the warm light rather than correcting it away.
Should I shoot in a flat picture profile?
Only if you will grade the footage and ideally only in ten-bit. Ungraded flat footage looks worse than standard, and eight-bit flat bands badly.
What is the most common grading mistake with aerial footage?
Overgrading — particularly oversaturated greens and heavy dehaze, which look artificial, add noise, and date the footage quickly.
More in Drone filming services and Batteries and accessories.