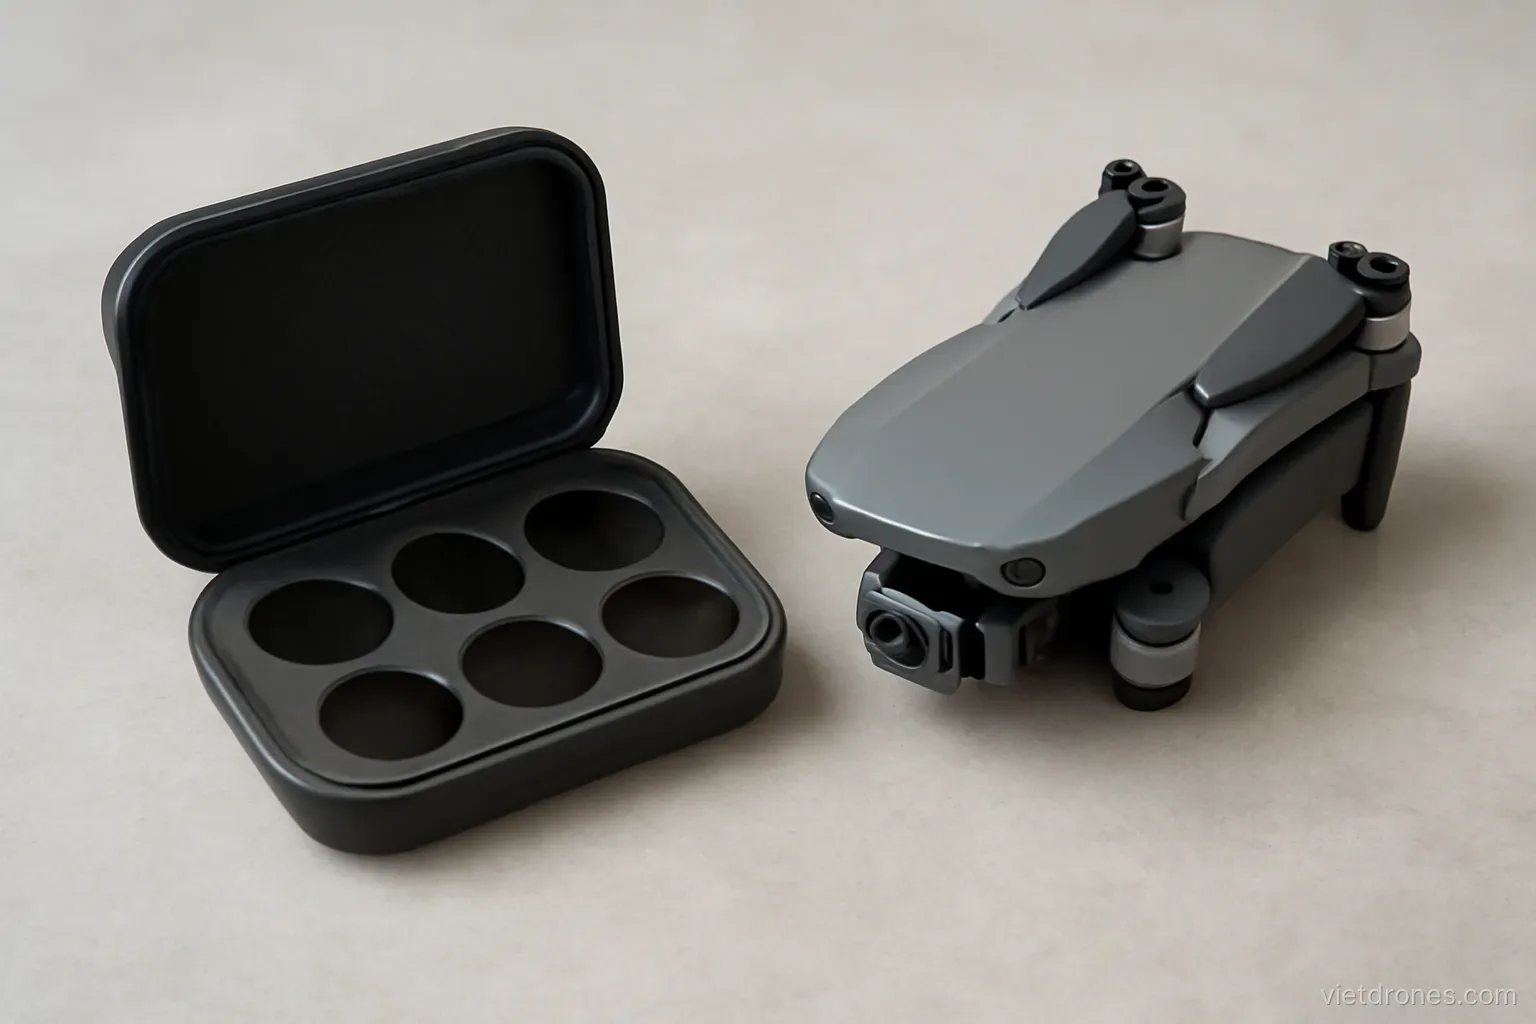
Neutral density filters are sunglasses for the camera. They exist for one reason: to let you keep a slow shutter speed in bright light, which is exactly the situation drones fly in most.
What the problem is
Video wants a slow shutter. Roughly double the frame rate, for natural motion blur.
Daylight is very bright. At base ISO and a fixed aperture, that shutter speed massively overexposes.
The camera compensates by speeding up. Automatic modes reach very fast shutter speeds in sunlight.
Fast shutter removes motion blur. Each frame becomes sharp, and movement between frames looks stepped.
The result is the stuttery look. It is the most recognisable signature of unfiltered drone video.
Aerial footage suffers most. Because the camera is almost always moving, every frame shows the problem.
Aperture cannot always help. Many drones have a fixed aperture and no way to stop down.
ISO cannot go lower. Base ISO is already the floor.
So light must be reduced optically. That is precisely what an ND filter does.
Choosing filter strength
Strength is measured in stops. Each stop halves the light reaching the sensor.
ND4 is two stops. Suitable for overcast conditions or early morning.
ND8 is three stops. A good general choice for hazy or partly cloudy days.
ND16 is four stops. The workhorse for ordinary bright daylight.
ND32 and ND64 are five and six stops. For harsh midday sun, snow, and bright sand or water.
Buy a set, not a single filter. Light changes through a session and one strength will not cover it.
Choose by testing, not by rule. Fit a filter, check whether base ISO and correct shutter give correct exposure.
Variable ND filters exist. Convenient but often introduce colour casts and uneven darkening at the extremes.
Quality matters. Cheap filters shift colour and soften the image, undoing the benefit.
Fitting and handling
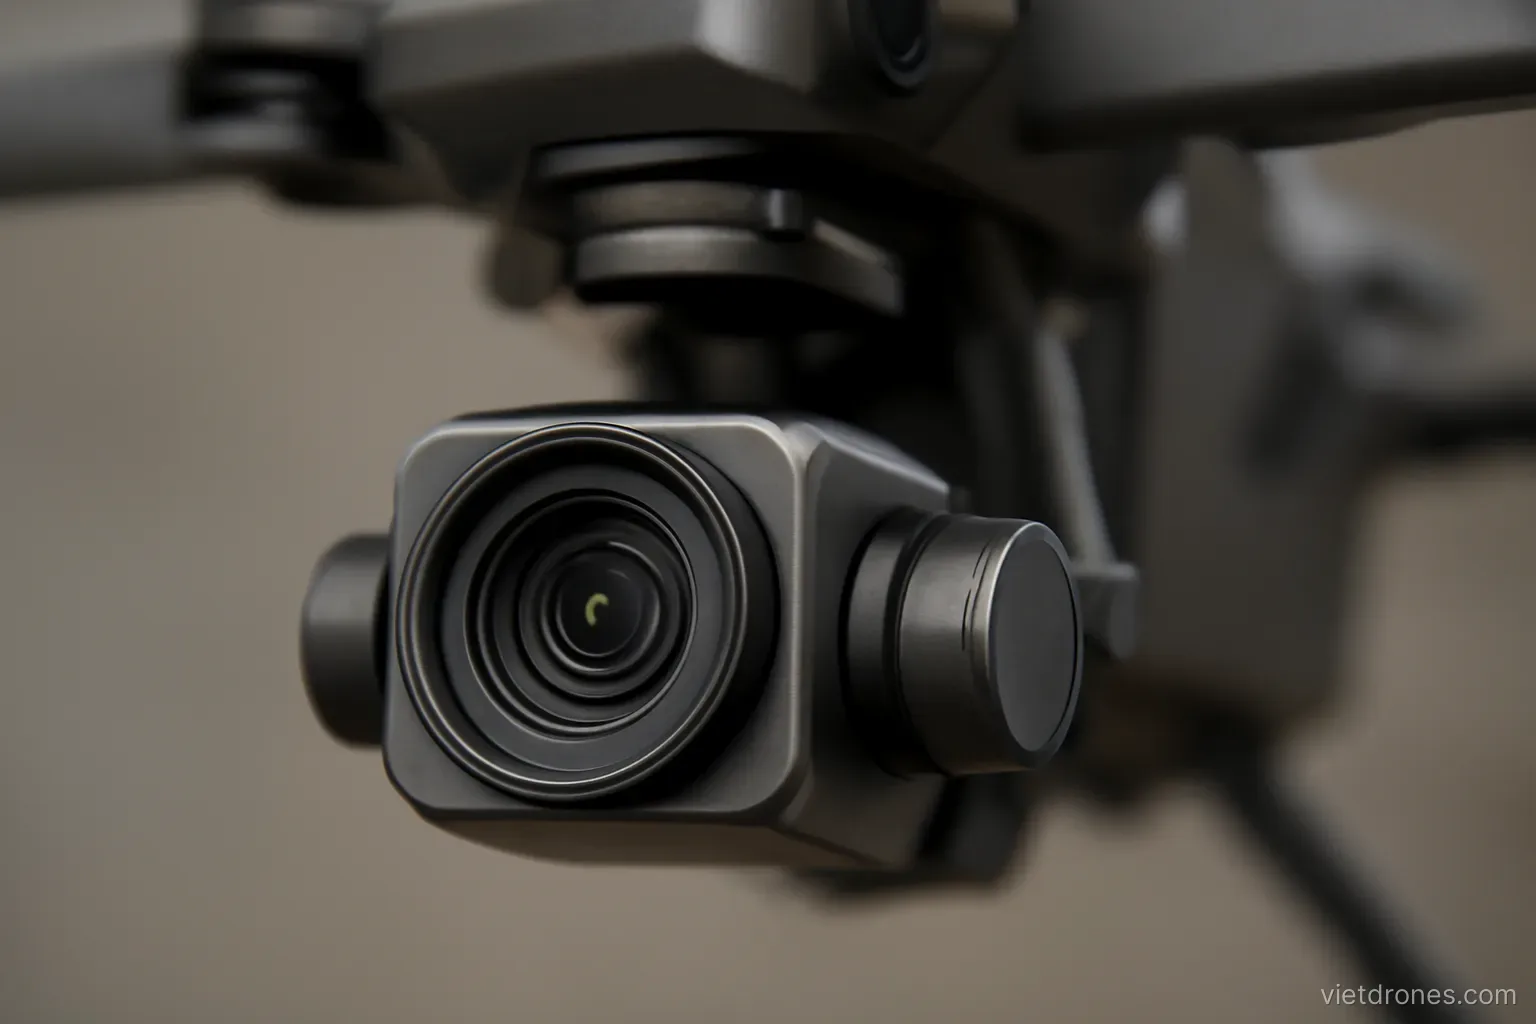
Weight affects the gimbal. Heavy filters can cause gimbal errors or calibration warnings.
Buy filters made for your model. Generic ones risk fouling the gimbal movement.
Fit gently. The gimbal is delicate and forcing a filter is a common way to damage it.
Recalibrate afterwards. Some drones require a gimbal calibration after a filter change.
Keep them clean. A fingerprint on the filter appears as haze across the whole image.
Change on the ground. Never with the motors running.
Carry them in a case. Scratched filters are worse than no filter at all.
Check the fit before flying. A filter that comes loose in flight is lost immediately.
Remove for low light. There is no reason to keep one fitted at dusk.
Polarising filters
Different purpose entirely. A polariser cuts reflections rather than reducing overall brightness.
It removes glare from water. Allowing you to see beneath the surface, which is dramatic from above.
It deepens sky colour. And increases contrast between sky and cloud.
It reduces haze. A real benefit on distant landscape shots.
The effect depends on angle to the sun. Strongest at ninety degrees, absent when facing directly towards or away.
That causes a problem in flight. During an orbit or a yaw, the effect changes across the shot.
It costs light. Typically one to two stops, which is sometimes convenient.
Combined ND-polarisers exist. Convenient, though they inherit the angle problem.
Use them selectively. Best for straight-line shots over water, worst for rotating moves.
A practical filter workflow
Check the light before take-off. Bright, hazy or overcast determines the starting filter.
Fit and test in the air. Hover briefly, set shutter and ISO, and read the histogram.
Change filter if ISO must rise. Rather than accepting a compromised shutter.
Change filter when clouds arrive. A passing cloud is easily two stops.
Land to change filters. It takes under a minute and there is no alternative.
Keep notes early on. Which filter suited which conditions builds judgement fast.
Do not overthink it. Being one stop off is far less harmful than having no filter.
Clean before each session. Filters attract dust in a bag.
Keep one filter fitted by default. Most daylight flying wants some filtration, so starting from ND16 is quicker than starting from nothing.
Expect the difference to be visible. Side-by-side comparison of filtered and unfiltered footage is the fastest way to be convinced.
Frequently asked questions
What does an ND filter actually do?
It reduces the light reaching the sensor so you can keep a slow shutter speed in bright daylight, which preserves natural motion blur in video.
Which strength should I start with?
ND16, four stops, covers ordinary bright daylight. Buy a set rather than one filter, since light changes considerably through a session.
How is a polariser different from an ND filter?
A polariser cuts reflections and haze rather than overall brightness, but its effect varies with the angle to the sun, so it shifts during rotating moves.
Do filters affect the gimbal?
Yes. Heavy or ill-fitting filters can cause gimbal errors, so use filters made for your model, fit them gently, and recalibrate if required.
More in Safe and legal flying and Flight moves and technique.