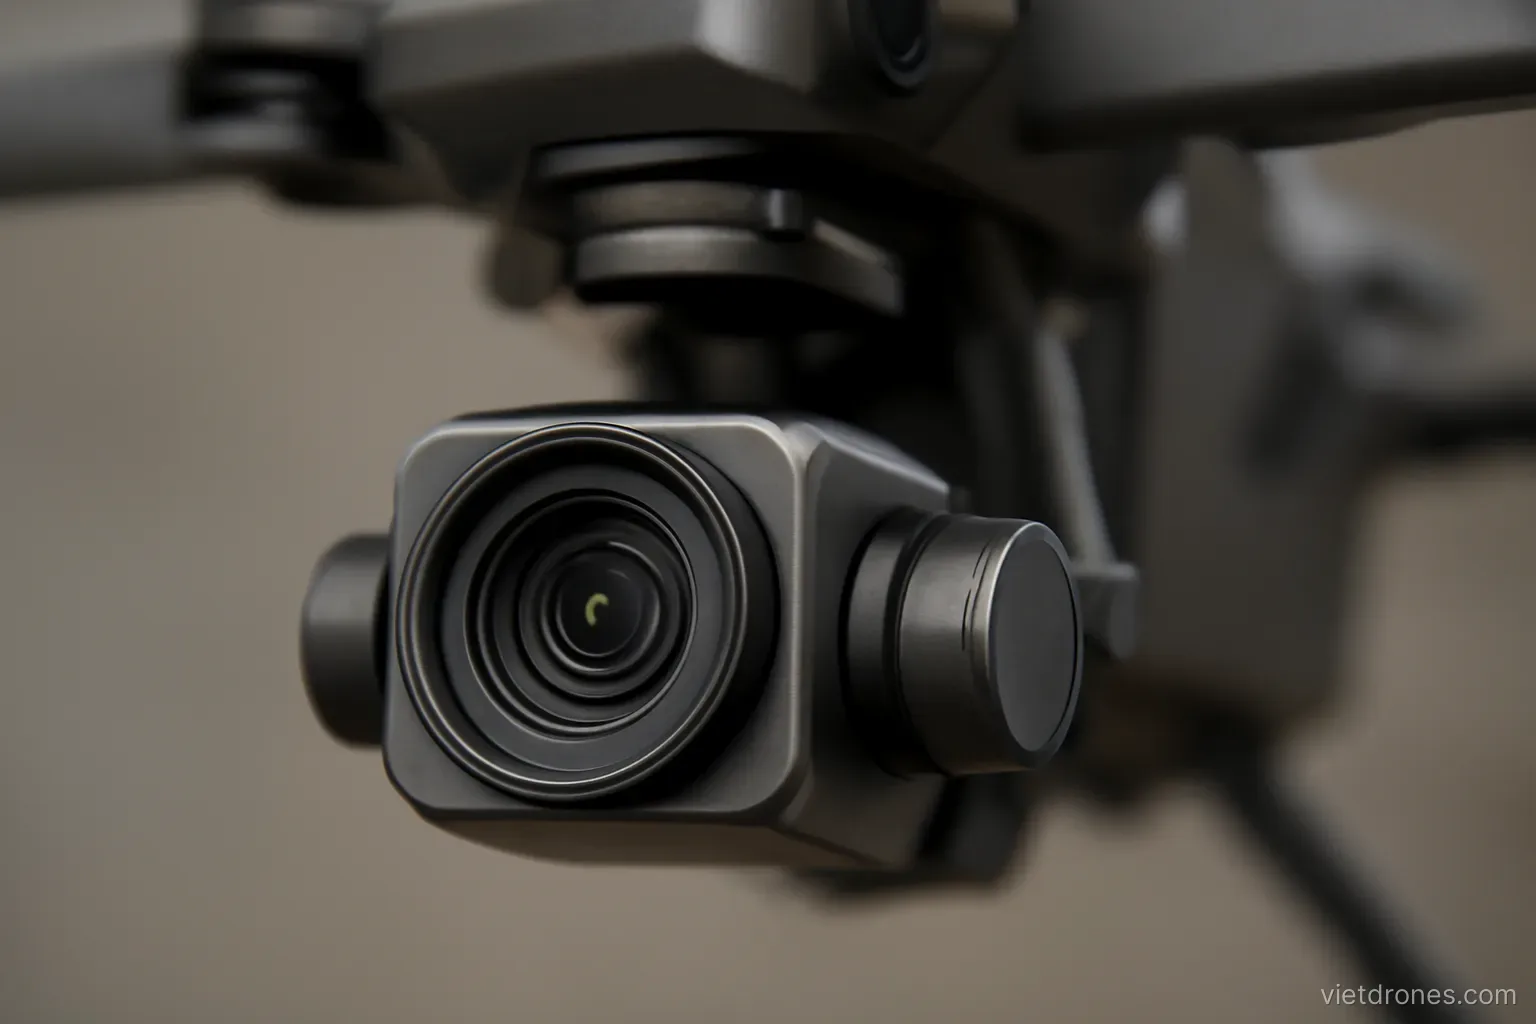
The single change that most improves drone video is switching the camera out of automatic. Automatic exposure is designed to keep a still image correct, and aerial video is neither still nor consistently lit.
Why automatic exposure fails in the air
The scene changes constantly. A drone moving over land and water crosses enormous brightness differences within seconds.
Exposure hunting is visible. The image brightens and darkens during the shot, and the change is impossible to remove later.
Cuts become difficult. Two clips of the same scene at different brightness will not sit next to each other in an edit.
Shutter speed varies. Auto mode changes shutter freely, which changes the amount of motion blur from shot to shot.
ISO climbs unnecessarily. Automatic modes often raise ISO when a slower shutter would have been better.
Sky fools the meter. Pointing the camera up or towards the horizon causes the ground to go dark.
Water fools it too. Reflective surfaces cause sudden overexposure warnings and corrections.
Colour shifts as well. Automatic white balance drifts across a single shot.
Manual is not harder. It is three settings decided once at the start of a shot and left alone.
Setting shutter speed first
Start from frame rate. The conventional rule sets shutter to double the frame rate, giving natural motion blur.
At twenty-four frames, use one fiftieth. At thirty frames, one sixtieth. At sixty frames, one one-hundred-and-twentieth.
Faster shutter looks stuttery. Motion becomes sharp and jerky, which reads as harsh in movement-heavy aerial footage.
Slower shutter looks smeared. Useful deliberately for a dreamy effect, distracting when accidental.
Lock it and leave it. Shutter is the setting you should change least often.
Adjust exposure elsewhere. Use ND filters and ISO rather than shutter to control brightness.
Exceptions exist. Fast action intended for slow motion benefits from a faster shutter.
Watch for flicker. Artificial lighting can produce banding at certain shutter speeds.
Consistency matters most. Keeping the same shutter across a shoot makes the footage cut together cleanly.
ISO and noise
Keep ISO at base. The lowest native value gives the cleanest image and the widest dynamic range.
Small sensors show noise early. Drone sensors degrade at ISO values that a large camera would handle comfortably.
Noise is worst in shadows. Dark areas of an aerial frame reveal it first.
Noise ruins compression. It consumes bit rate that should be describing detail, so the whole image suffers.
Raise ISO only when necessary. After aperture and ND filters have been used.
Know your ceiling. Test your own drone and find the ISO at which footage stops being usable.
Underexposing is worse. Lifting a dark image in editing amplifies noise more than a correct higher ISO would.
Noise reduction costs detail. It smears fine texture such as foliage and water.
Plan around it. If the light is too low for your ISO ceiling, the answer is to fly at a different time.
Reading the exposure tools
Use the histogram. It is a far more reliable guide than judging brightness on a screen in daylight.
Avoid clipping highlights. Blown-out sky or water contains no recoverable information at all.
Shadows have more latitude. Slightly dark areas can be lifted; blown highlights cannot be recovered.
Turn on overexposure warnings. Striped areas show exactly what is being lost.
Some clipping is acceptable. A small specular highlight on water does not need to be preserved.
Expose for the subject. Not for the whole frame average.
Screen brightness lies. A phone screen in sunlight makes everything look dark, tempting overexposure.
Use a sunshade. It makes judging the image far more reliable outdoors.
Check after landing. Review one clip properly before flying the rest of the session.
A workable routine
Set frame rate first. It determines the shutter speed you will use.
Set shutter to double it. Then leave it alone for the session.
Fit an ND filter. Choose the strength that brings ISO down to base at your chosen shutter.
Set ISO to base. And check the histogram.
Adjust with filters, not settings. Change ND strength as the light changes.
Set white balance manually. A fixed value prevents colour drift within a shot.
Check before every take-off. Settings sometimes reset after a firmware update or battery change.
Recheck when light changes. Cloud passing over changes exposure by a substantial margin.
Write it down while learning. A short note of the settings that worked builds intuition quickly.
Frequently asked questions
Why is automatic exposure a problem for drone video?
Because the scene brightness changes constantly in flight, so the image visibly brightens and darkens mid-shot, and clips will not cut together cleanly.
What shutter speed should I use?
Roughly double the frame rate — one fiftieth at twenty-four frames, one sixtieth at thirty. That gives natural motion blur, and it should stay fixed.
Is it better to underexpose or raise ISO?
Raise ISO within your tested ceiling. Lifting an underexposed image in editing amplifies noise more than exposing correctly at a higher ISO would.
How should I judge exposure in bright sunlight?
By the histogram and overexposure warnings rather than by how the screen looks, since a phone screen in sunlight makes everything appear too dark.
More in Safe and legal flying and Drone video editing.